In this Zapier tutorial, we will be creating a workflow from two separate productivity apps, Microsoft Outlook and Todoist.
Zapier has incredible potential as a productivity app for adults with ADHD. This app is for all the things that we need to handle, but have no app dedicated to handling these specific needs. This app also allows us to create specialized processes for organization that are customized for our individual personalities and needs. Being adults with ADHD, organization skills are critical, and Zapier can cater to our organization skills with individualized precision. Maybe some people like customized summaries of tasks emailed to them in the morning, or tasks that are created automatically based on the content of the emails we receive. Once you find an organization or productivity tactic that works for you, Zapier can automate and enhance that process so you can get the most out of your productivity and organizational tools.
- The first step is to head to https://zapier.com. Then, either create an account or log in to an existing account. Once logged in, look for the magnifying glass icon at the top right portion of your screen. Hit this icon, and a search box will appear, allowing you to search and open your Zapier Workflow. For this Zapier tutorial, I will create a new workflow between Microsoft Outlook Email and Todoist Task Manager.

- The next step opens the “Create Your Own Workflow” box, shown below. Start by selecting an app from the first list titled “Connect this app…”. Type the name of an app into the search bar to find out whether the app is supported. If supported, select the app. For this Zapier tutorial, I selected Microsoft Outlook.

- Like the last step, type the name of an app into the following search bar titled “with this one!” In this example, I selected the Todoist Task Management app.
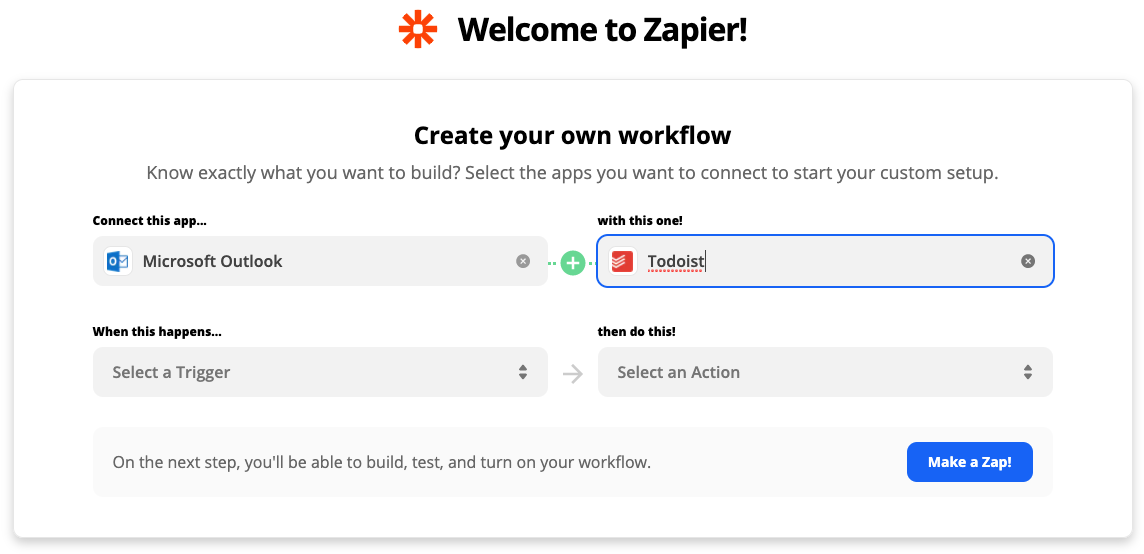
- The next step is to select the trigger from the options presented in the “Select a Trigger” box. The trigger is the event that initiates the workflow and is directly linked to the first app we selected. In this Zapier tutorial, the trigger dropdown box gives us the available Zapier options for Microsoft Outlook. I selected “new email”.
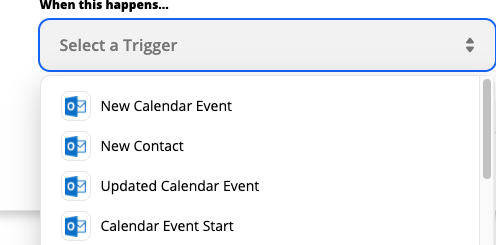
- Next, we select an action from the options presented in the “Select an Action” box. The action is the event that will happen after the trigger event. Like the prior box, the options presented in the dropdown box are directly related to the second app we selected. For this Zapier tutorial, I selected “create task”.
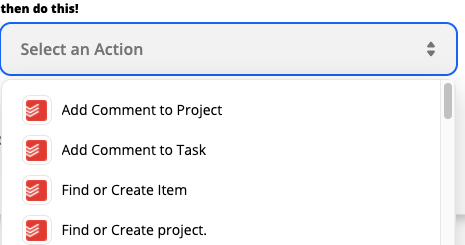
- At this point in creating a Zapier Workflow, we should see all four boxes populated with a selection. This is shown in the below screenshot. If everything looks ok, select “Try it”.
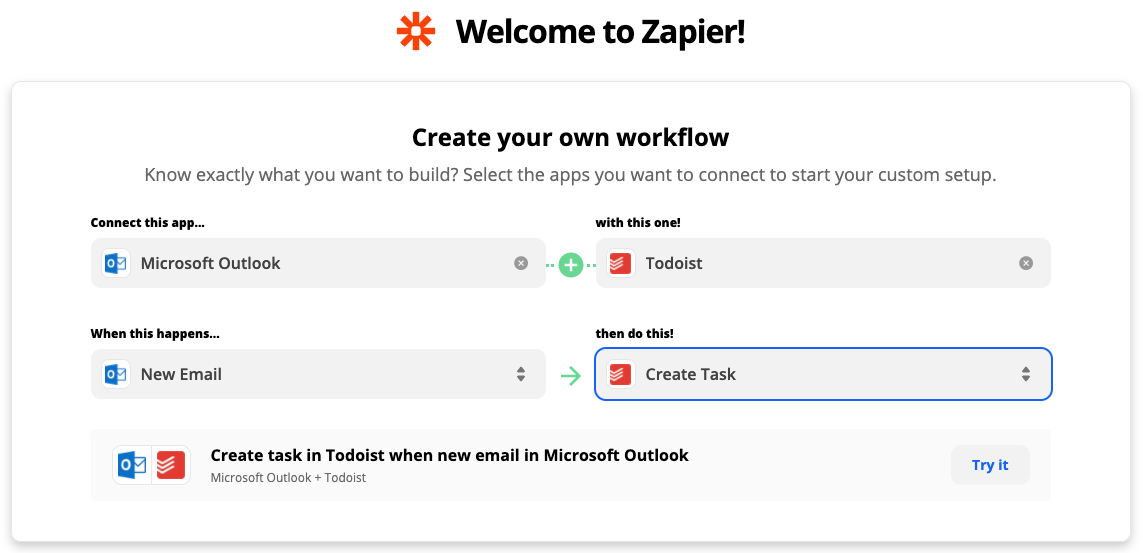
- This screen will be shown next, allowing you to select an account. In this step, you’ll need to configure and connect your app account for the trigger step. If you haven’t already configured an account at this step, this screen will ask you to “Sign in” to the account. For this Zapier tutorial, I signed into my Microsoft Outlook account. If you have multiple accounts, you can click the “Manage connected accounts” text in blue. Once the account is configured and set, select the “Continue” button.
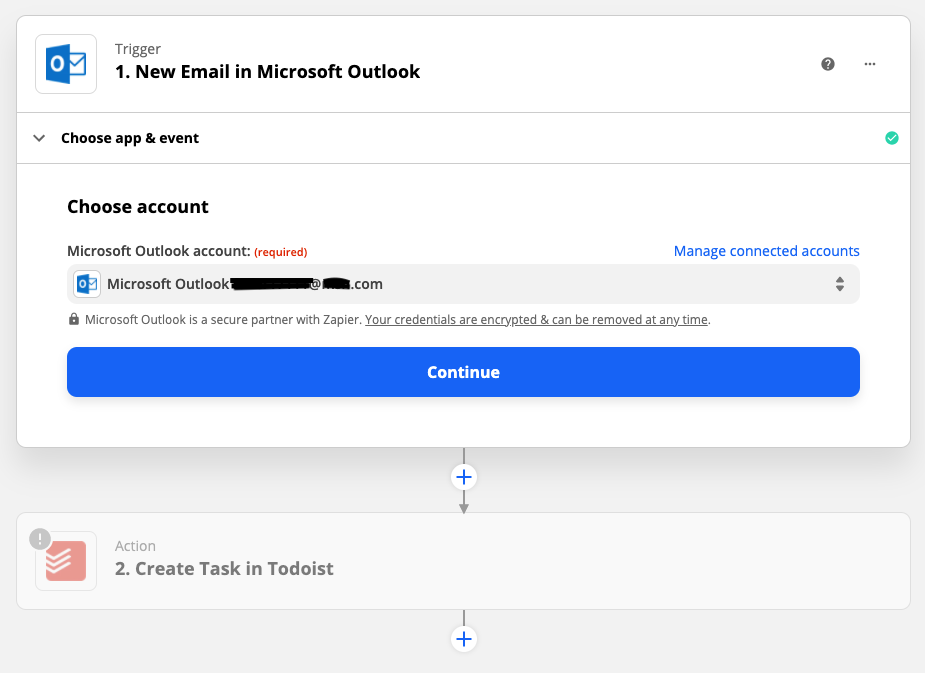
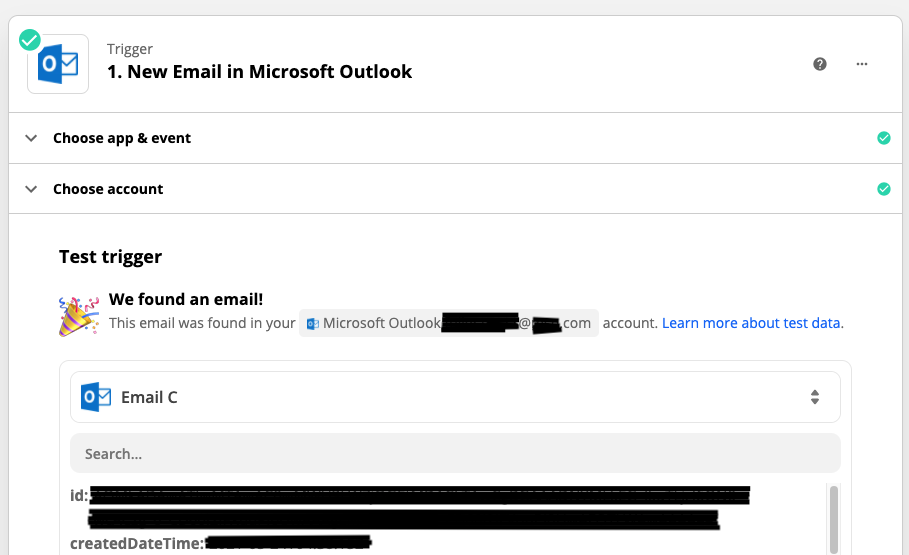
- In this next step, Zapier will ask to test the trigger account. In our example, Zapier tested my Microsoft Outlook account. The test concludes with the screenshot shown below, indicating that Zapier was able to retrieve an email from my Microsoft Account. After the successful test, select “Continue”.
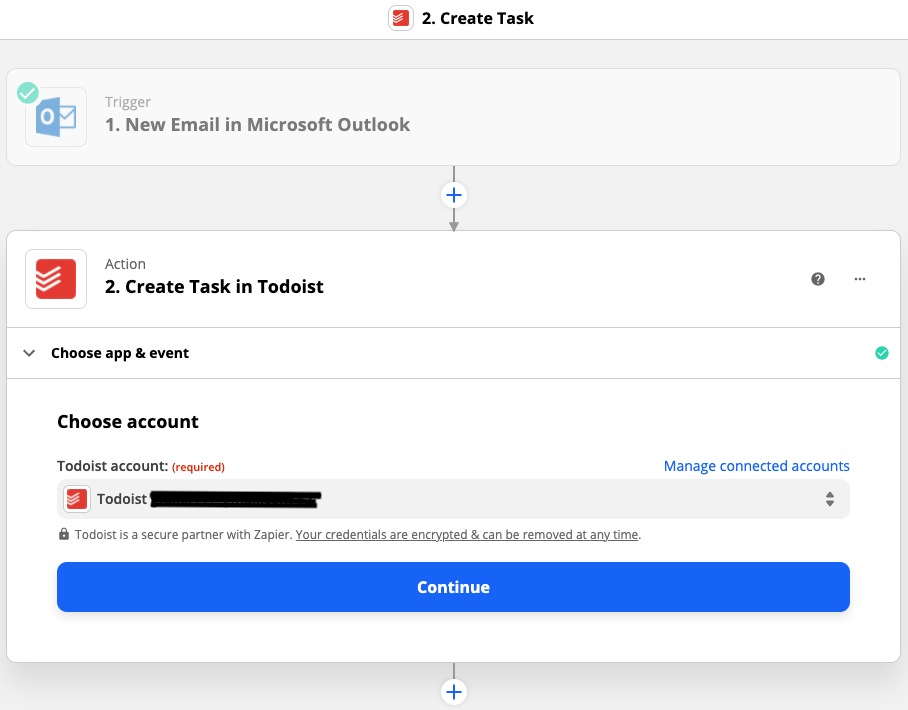
- Next up is selecting the event. In this example, I selected “Create Task” for Todoist. Then, click “Continue”. Just like with the trigger account, Zapier will request that you sign into the action account. In this Zapier tutorial, I signed into my Todoist account. Then, click “Continue” again.
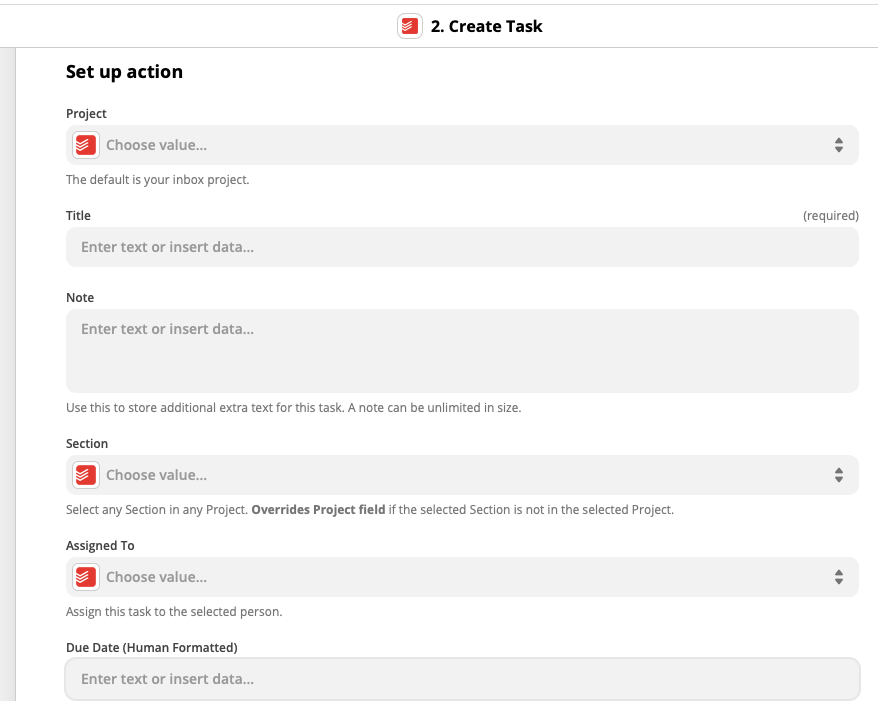
- In this step, we need to configure the action event. This is the event that will occur after the trigger event occurs. So, in our example, after an email is received in my Outlook account, this Todoist action event will occur. The title field is required and represents the Todoist task name. The rest of the options are not required but can be configured to fine-tune the Todoist task creation. I selected the “Inbox” for the project and left the remaining options at the default values. After you have finished configuring the action event, select “Continue”.
- The next step is to allow Zapier to test the action event. In this Zapier tutorial, Zapier tested my Todoist account by creating a test task. Select “Test and Continue”.
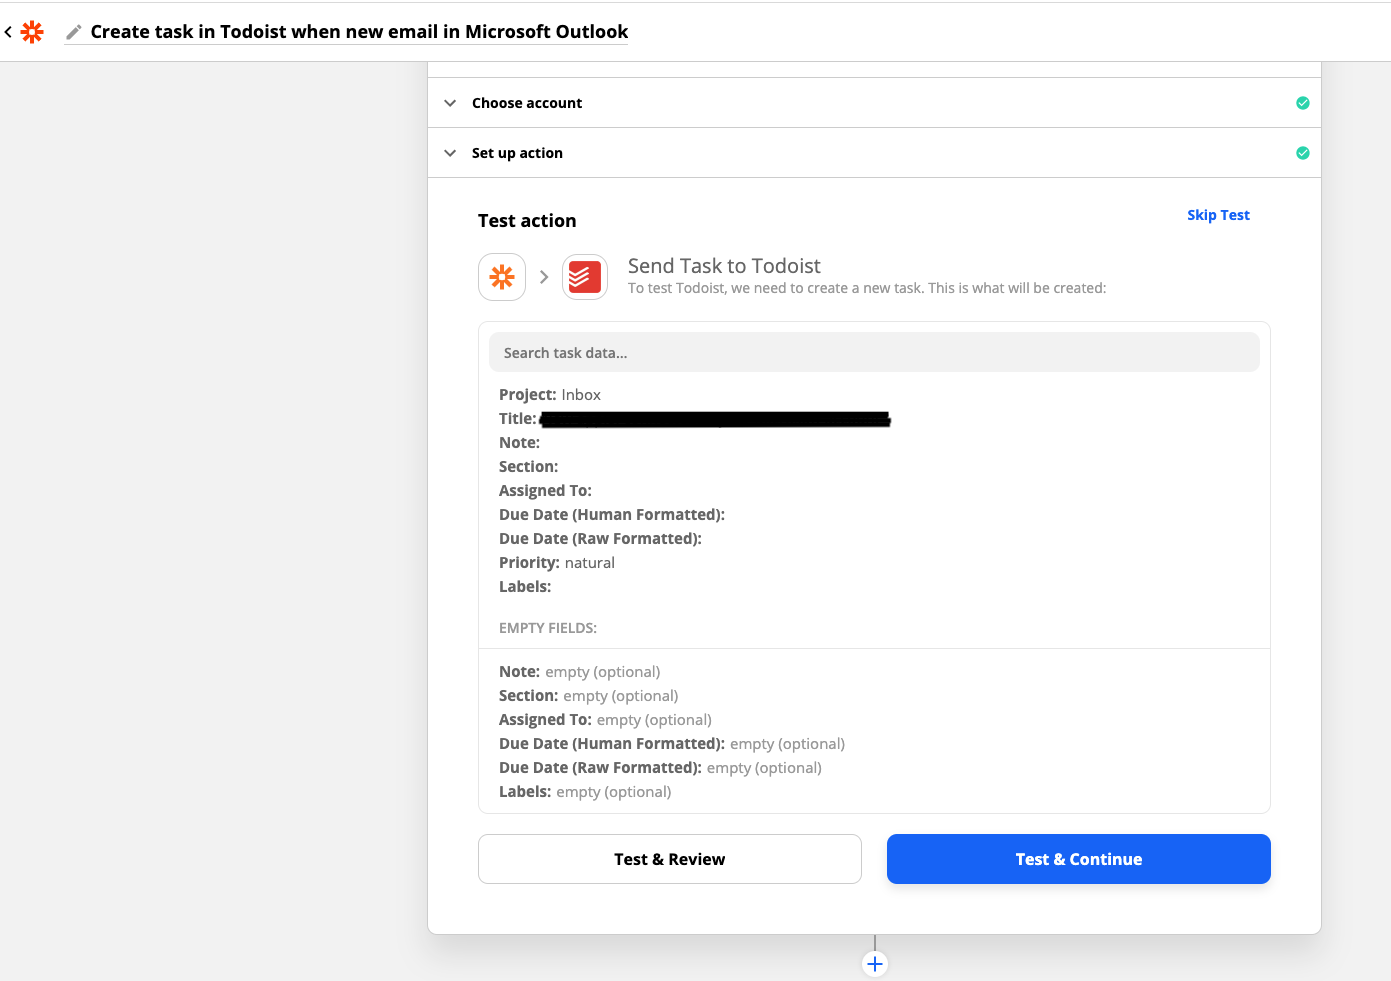
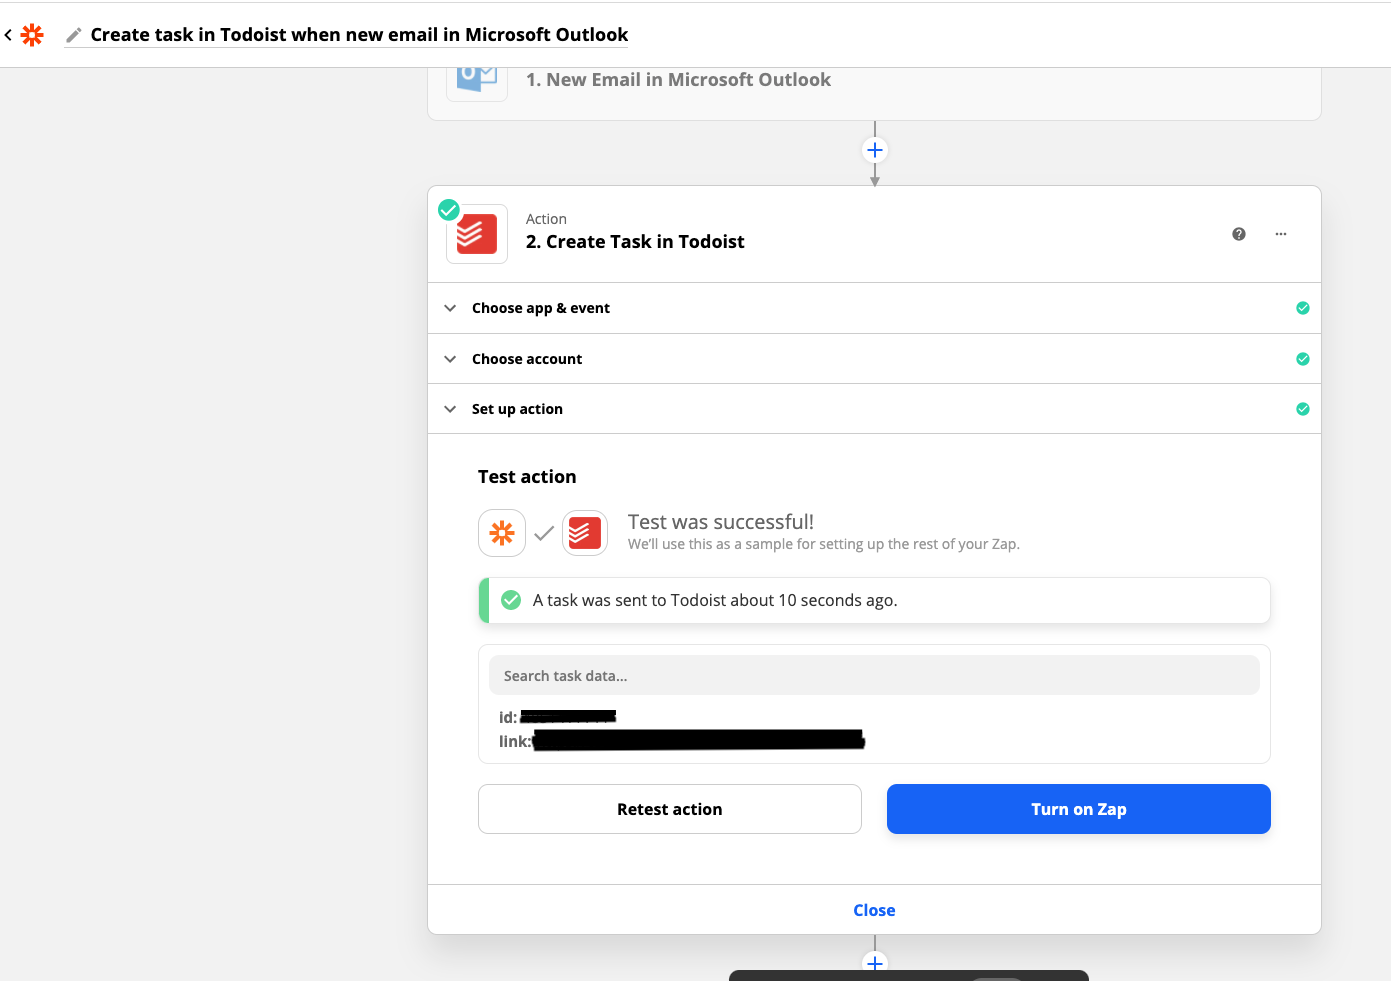
- After the test is complete and successful, select “Turn on Zap”.
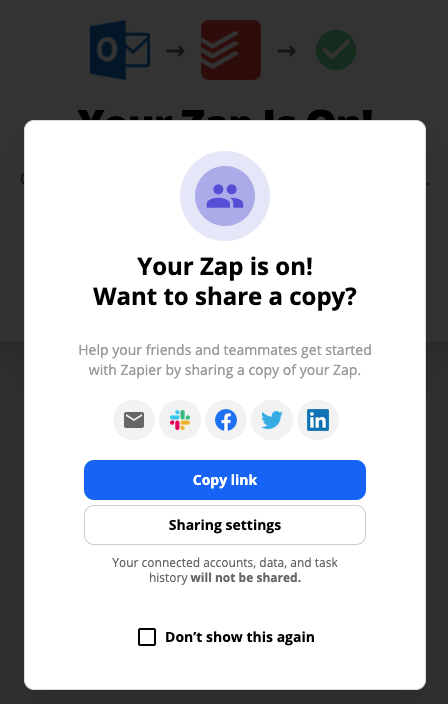
- Next, Zapier will display this message, indicating that the “Zap” is active and on.
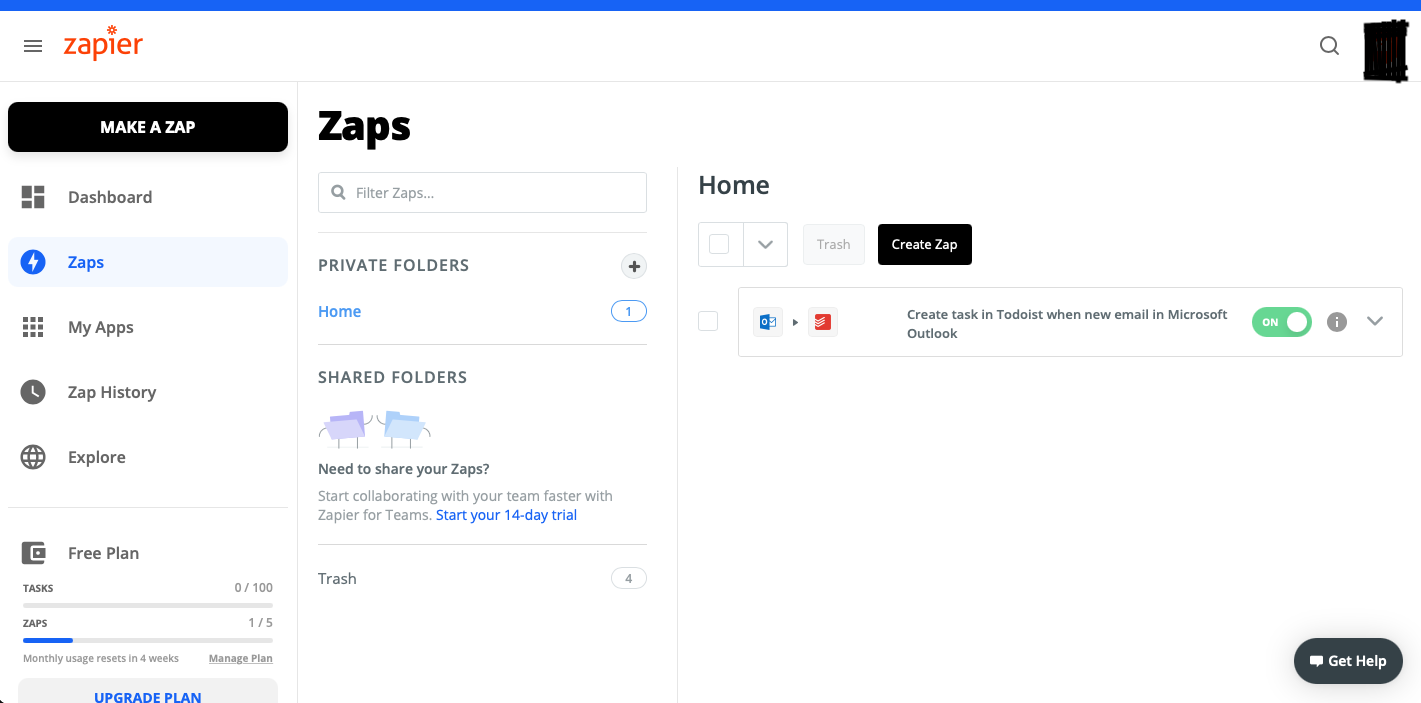
- This final screen in the tutorial is Zapier’s home screen. The list of “Zaps” is shown on the right side of the screen, with a switch to turn the Zaps on and off. It is the green switch shown in the below screenshot. On the left side of the screen are the account options. The “My Apps” section will show all the app accounts that you have linked to Zapier.
A Zapier Tutorial
This post may contain affiliate links that earn us a commission when you buy through our product links. For our full disclosure, please visit our Privacy Policy page.


